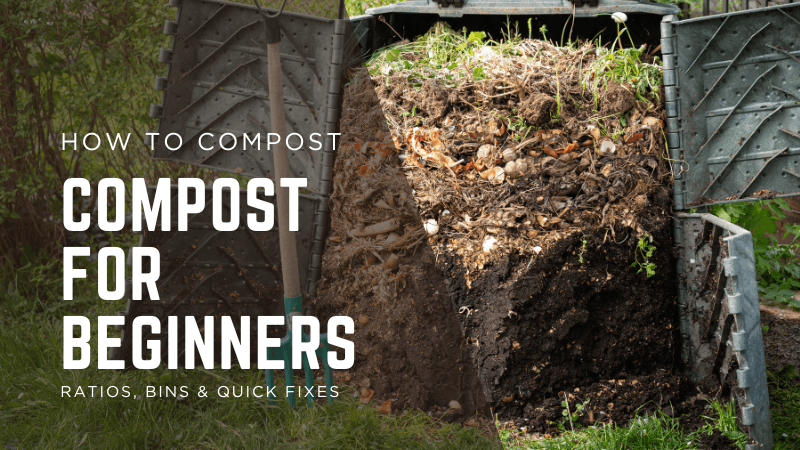
This practical how to compost walks you from your first handful of leaves to a clean, earthy compost you can spread on beds with pride. You’ll understand the browns/greens ratio, pick a bin that fits your space, hit the right moisture, turn at the right time, and fix smells or pests quickly. By the end, you’ll have a repeatable routine, printable checklists, and the confidence to scale up for bigger harvests.
Why Compost Works (The Short Science)
Compost is controlled decomposition. Microbes consume carbon‑rich browns and nitrogen‑rich greens, generating heat and transforming waste into stable organic matter that improves soil structure and nutrient holding. When you keep a balance of materials and moisture, oxygen stays available, beneficial microbes dominate, and odors stay low.
Choose a System (Tumbler, Aerated Bin, Open Bay)
| System | Pros | Cons / Notes |
| Tumbler | Fast aeration, tidy, less odor | Limited volume; small batches; good for balconies/courtyards |
| Aerated bin | Affordable, scalable, pest‑resistant lids | Needs occasional turning; drill air holes if DIY |
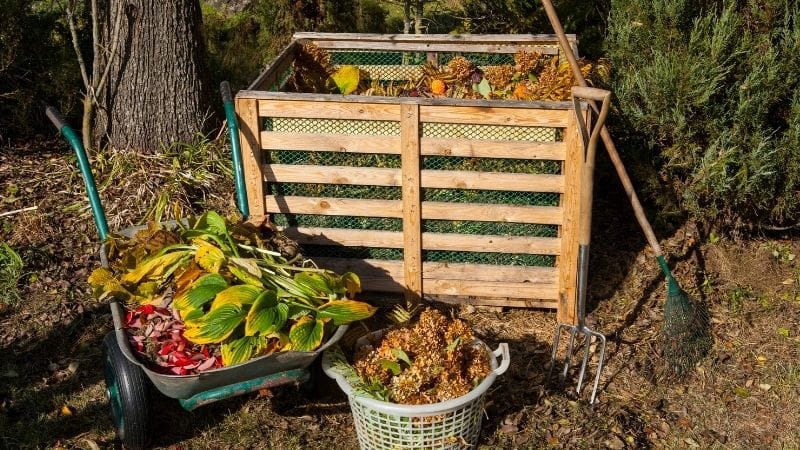
| Open bay/pile | Cheapest; handles lots of leaves | Needs space and management; cover to deter pests |
Tip: choose the largest system your space and budget allow. Volume helps heat and consistency, especially for hot composting.
How to Compost: Ratios You Can Actually Use
Skip complicated carbon:nitrogen math. Start with roughly **2 parts browns : 1 part greens by volume** and adjust using smell and temperature as feedback. Browns are dry leaves, shredded cardboard, straw; greens are food scraps, coffee grounds, fresh grass. If your mix smells like ammonia or turns slimy, you’ve got too many greens—fold in browns and fluff. If nothing happens for weeks, you’re too dry or carbon‑heavy—add water and a small layer of greens.
- Browns (carbon): dry leaves, shredded cardboard, straw, torn paper, wood shavings (untreated).
- Greens (nitrogen): kitchen scraps (veg/fruit), coffee grounds, tea leaves, fresh grass, prunings.
- Bulking agents: twigs, coarse stems, shredded corn stalks to keep air channels open.
Moisture Target & Texture Tests
Aim for a wrung‑out sponge feel. Grab a handful and squeeze: one or two drops is perfect. Streams of water mean too wet; dust and no cohesion mean too dry.
- Too wet → add browns, turn for aeration, tilt lids for airflow, and ensure drainage holes aren’t blocked.
- Too dry → sprinkle water as you add greens; cover the pile with a breathable lid or mat to reduce evaporation.
- Clumping greens (grass, wet scraps) → layer thinly with browns; avoid thick mats that go anaerobic.
Fast Method (Hot) vs Low‑Effort Method (Cold)
Fast (Hot) Compost
- Build a 1 m³ heap or fill a large tumbler in one go with alternating browns and greens.
- Moisten each layer lightly and cap with browns to deter flies.
- Turn weekly to re‑oxygenate; finished in 4–8 weeks depending on season.
Low‑Effort (Cold) Compost
- Add scraps as they come; sprinkle a cap of browns after each addition.
- Turn monthly or not at all; finished in 3–6 months.
- Great for small gardens and busy schedules; less heat means seeds may survive—use as mulch if unsure.
Ingredient Guide (Browns & Greens)
| Material | Type | Notes |
| Dry leaves | Brown | Abundant in autumn; interlock well; store in breathable bags. |
| Shredded cardboard/paper | Brown | Tear tape/labels; mix with wetter greens to prevent mats. |
| Straw | Brown | Adds air; good cap layer to suppress fruit flies. |
| Coffee grounds | Green | Despite color, they’re nitrogen‑rich; mix with leaves. |
| Fresh grass | Green | Powerful green; apply in thin layers to avoid slime. |
| Kitchen scraps | Green | Bury deeper; avoid meat/dairy to deter pests. |
| Wood chips/sawdust | Brown | Slow to break; use sparingly or reserve for paths. |
Step‑by‑Step Startup
1. Pick a spot: shady in hot summers, sunny in cool climates. Place on soil (not concrete) for drainage and worm access.
2. Lay a coarse base of sticks/twigs for airflow if using a bay/pile; skip for tumblers.
3. Alternate: browns → greens → browns until bin is at least half full (more is better for hot compost).
4. Moisten as you build; think wrung‑out sponge, not soup.
5. Cap with browns after each green addition to deter flies and odors.
6. Insert a cheap compost thermometer (optional). 55–65 °C signals hot, pathogen‑reducing conditions.
7. Turn weekly (hot) or monthly (cold). Add browns/greens to correct moisture and smell.
Troubleshooting Matrix (Symptoms → Likely Causes → Fixes)
| Symptom | Likely Cause | Fix |
| Smelly/anaerobic (rotten egg) | Too many greens; poor airflow; waterlogged | Add browns; turn; improve drainage; lift with coarse browns. |
| Dry and inert | Too many browns; not enough moisture | Add water and a thin green layer; cover to retain humidity. |
| Fruit flies | Exposed scraps; sugary fruit near surface | Bury scraps; add a browns cap; use a fitted lid or mesh. |
| Rodents | Meat/dairy added; gaps in bin | Remove attractants; secure lids; use fine mesh on vents; elevate base. |
| Weed seeds sprouting | Low internal heat in cold method | Use as surface mulch or switch to hot compost for seed‑kill. |
| White fungal threads | Normal decomposition in moist conditions | Leave as is—fungi are part of healthy composting. |
Using Finished Compost (Beds, Pots, Teas)
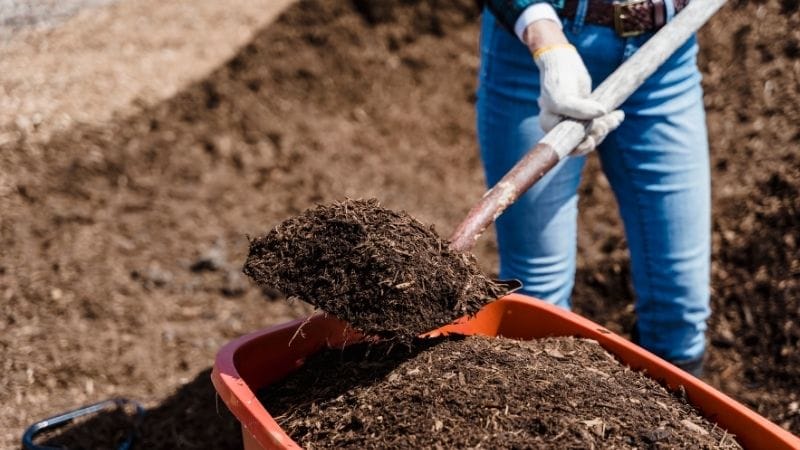
Finished compost smells earthy, looks dark and crumbly, and no longer heats when turned. A few small, woody bits are fine. If you see lots of recognisable material, let it mature longer or sift larger pieces back into the next batch.
- Beds: top‑dress 2–3 cm each season; water in and cover with mulch.
- Pots: blend 20–30% into high‑quality potting mix for structure and nutrients.
- Teas: brew aerated compost tea cautiously and apply to soil, not leaves; compost itself delivers the biggest gains.
Seasonal Strategy & Stockpiling
Autumn is compost gold—leaves supply a mountain of browns. Stockpile dry leaves in breathable bags or a second bay for year‑round balance. In summer, kitchen greens keep heat high; in winter, insulate the pile with straw or move to a sunlit, wind‑sheltered corner.
- Autumn: collect leaves; shred with mower for faster breakdown; fill a bay for the year.
- Winter: cap piles with straw; turn on sunny days; watch moisture in heavy rain.
- Spring: ramp up hot composting with lawn clippings balanced by leaves/cardboard.
- Summer: add water if piles dry out; bury scraps promptly; keep lids fitted.
Quality Checks & Maturity
- Smell: clean, earthy—not sweet or sour.
- Touch: crumbly, not slimy or sticky.
- Heat: stable ambient temperature several days after turning.
- Plant test: sow a few radish seeds in a compost: potting mix 1:1—germination and healthy seedlings indicate maturity.
Internal Links
FAQs
What’s the fastest way to get compost?
Build a big batch (≈1 m³), keep the 2:1 browns:greens ratio by volume, maintain moisture, and turn weekly. Size plus air equals speed.
Can I compost citrus, onions, or bread?
Yes in moderation. Chop finely, bury, and cap with browns. Balance is the key—too much of any one item can skew moisture or pH temporarily.
Do I need a thermometer?
No, but it helps for hot compost. Without one, watch for steam on cool mornings or use the hand‑test: the middle should feel hot but not scalding.
Is ‘compost accelerator’ necessary?
Not usually. A handful of finished compost or garden soil adds plenty of microbes. Time, air, moisture and the right ratio work better than additives.
Research‑Backed Practices
Peer‑reviewed horticulture and soil science consistently emphasise the same fundamentals: maintain surface cover, increase organic matter gradually, water deeply rather than frequently, and avoid disturbing wet soils. For home gardeners that translates into mulch, compost, drip irrigation where possible, and patient observation.
Local Sourcing & Sustainability
Sourcing amendments locally reduces cost and supports soil biology adapted to your climate. Blended green‑waste compost from municipal programs, well‑aged manures, and autumn leaves can outperform boutique bagged products when applied with care. Close loops: compost kitchen scraps, retain leaves as mulch, and return soft trimmings to beds after chop‑and‑drop.
Record‑Keeping & Continuous Improvement
A pocket notebook or phone log is a superpower. Track what went in, when you turned, temperatures (if using a thermometer), smells, and fixes. At season’s end, review what worked and what felt like a chore. Small changes guided by notes turn how to compost into a low‑effort habit.
Accessibility & Ergonomics
Design your compost area to be easy to use on your most tired day: short carry distance from the kitchen, a stable path, and lids you can open with one hand. Good ergonomics reduces skipped turns and keeps piles healthy.
