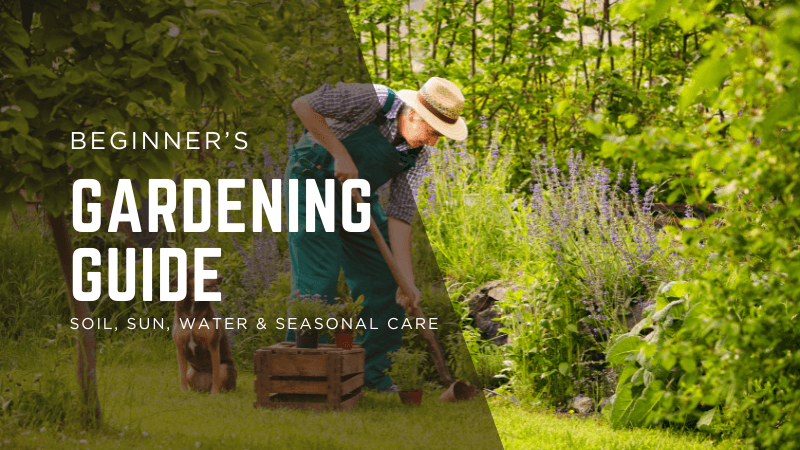

Starting a garden should feel exciting—not overwhelming. This beginner gardening guide gives you a clear, step‑by‑step framework built around four things that matter most: soil, sunlight, water and season. You’ll learn how to assess your site, build healthy soil, water deeply without waste, match crops to your climate, and prevent problems before they start. At the end you’ll find a 30‑day launch plan, a sample 1×2 m layout, checklists, and a troubleshooting matrix so you can grow food confidently from your very first bed.
Assess Your Space (Sun, Soil, Water, Wind)
Great gardens start with observation. Spend one full day noticing where sunlight lands, where water puddles, and how wind moves across your yard or balcony. This is also the moment to measure bed space and confirm hose access or tap location.
Sun:
- Fruiting crops (tomatoes, capsicum, eggplant, cucumbers, beans) want 6–8 hours of direct sun.
- Leafy greens and many herbs tolerate partial sun (3–5 hours).
- Track shade from fences and trees—especially afternoon shade in summer.
Soil:
- Grab a handful after rain. If it smears like putty, you have more clay; if it won’t hold together at all, more sand.
- Look for earthworms and crumbly structure; both signal healthy biology.
Water:
- Locate your tap and note pressure (a timer + filter are easier with good access).
- Note any puddling spots—raised beds or organic matter can improve drainage.
Wind:
- Strong, dry winds desiccate leaves and soil. Use fences, hedges or temporary windbreaks (shade cloth) for young plants.
Design Your First Bed (Raised vs In‑Ground, Layout, Orientation)
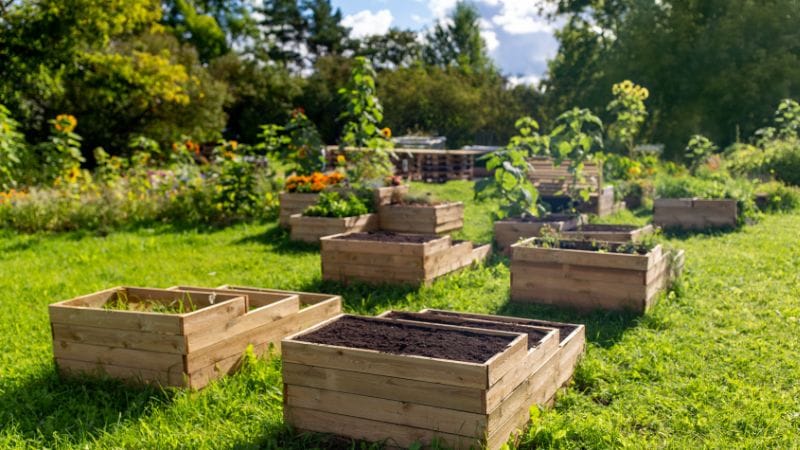
Choose a small test bed—around 1×2 metres is enough to learn quickly. Decide between a raised bed (fast, tidy, costs more) and an in‑ground bed (cheaper, holds moisture, needs soil improvement).
Raised vs In‑Ground at a Glance
- Raised bed: instant soil quality, warms earlier in spring, ergonomic; but costs for frames and fill, dries a bit faster.
- In‑ground: lowest cost, deep rooting, holds moisture well; but takes time to improve if native soil is poor.
Layout & Orientation
- Keep width to ≤1.2 m so you can reach the middle from both sides without stepping on soil.
- Run beds north–south when possible for even sun on both sides (Southern Hemisphere nuance: place tall crops to the south edge so they don’t shade shorter crops).
- Install supports (stakes/trellis) at planting to avoid later root damage.
Companion Planting—What Actually Helps
Keep it simple. Combine crops with different heights and rooting depths, e.g., tomatoes with basil; lettuce under trellised cucumbers. Companion planting works best when it improves light use and airflow, not when it’s a list of magical pairings.
Soil Science Made Simple (Texture, Structure, Organic Matter, pH)
Soil feeds plants when it has structure (aggregates that hold air/water), organic matter (food for microbes), and suitable pH (most veggies prefer 6.0–7.0). Your job is to build and protect that structure.
Texture & Structure
- Sandy soils drain quickly; build organic matter and mulch to retain moisture.
- Clay soils hold nutrients but compact easily; avoid working wet, add compost and coarse organic matter, and mulch.
- Silty soils are fertile but can crust; keep covered with plants or mulch.
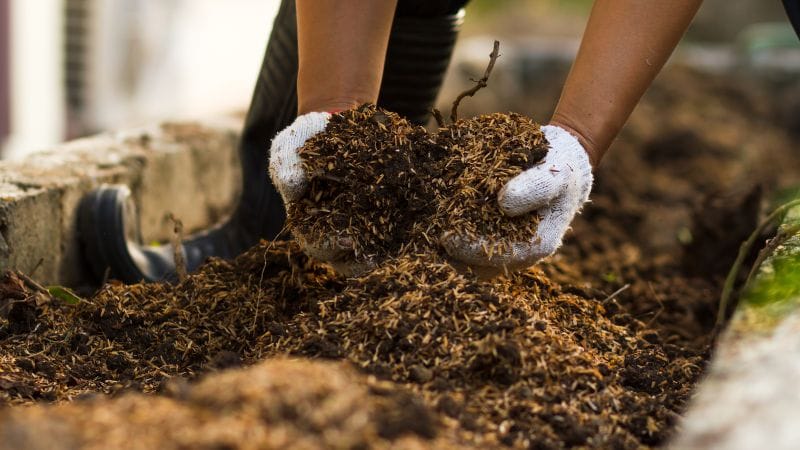
Organic Matter & Compost
- Top‑dress 2–3 cm of compost every season.
- Grow cover crops (mustard, oats, vetch) in off‑seasons and cut them down before flowering; leave roots in place.
- Avoid frequent deep tilling—disturbs soil life and collapses structure.
pH & Nutrients
- If leaves yellow despite feeding, test pH. Too acidic? Add garden lime slowly. Too alkaline? Add elemental sulphur slowly.
- Slow‑release organic fertilisers (balanced N‑P‑K) support heavy feeders like tomatoes and corn without burning roots.
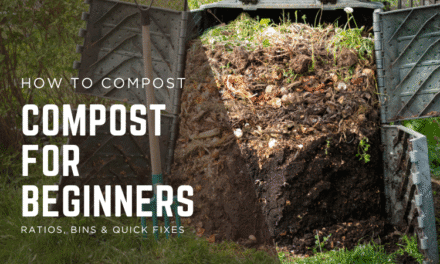
Composting 101 (Fast vs Cold, Ratios, Fixes)
Compost turns kitchen scraps and yard waste into stable organic matter. There are two easy paths: hot compost (fast, needs turning) and cold compost (slow, very low effort).
Simple Ratios
- Aim for roughly 2 parts browns : 1 part greens by volume.
- Browns = dry leaves, shredded cardboard, straw. Greens = food scraps, coffee grounds, fresh grass.
Fast (Hot) Method
- Layer browns → greens → browns in a bin at least 1 m³.
- Moisten to a wrung‑out sponge feel.
- Turn weekly; ready in 4–8 weeks depending on weather.
Cold (No‑Turn) Method
- Add scraps and browns as you have them; cover each addition with browns.
- Turn monthly or not at all; ready in 3–6 months.
Quick Fixes
- Smelly? Add browns and turn.
- Dry? Add water and a small layer of greens.
- Pests? Bury food scraps deeper; avoid meat/dairy.
Water Mastery (Depth, Scheduling, Drip Basics)
The goal is moisture 15–20 cm deep. Shallow, frequent sprinkles create weak roots. Water slowly and less often, then check depth with a small trowel or probe.
Scheduling Without Guesswork
- Use a finger test at 5–7 cm depth. If dry, water to reach 15–20 cm.
- In hot summers, that often means watering 2–4×/week with mulch; in mild seasons 1–2×/week.
- Morning irrigation = less evaporation and lower disease pressure.
Drip Basics
- At the tap: timer + filter + pressure reducer.
- Main line (13 mm) along beds; branch 4 mm lines or use inline drippers at 30–45 cm spacing (closer in sandy soil).
- Run a test cycle, then measure how long it takes to wet soil to the target depth—that runtime is your baseline.
Mulch = Water Insurance
A 5–7 cm layer of straw or shredded leaves can halve evaporation, extend intervals between watering, and protect soil biology. Re‑top when thin.
Light & Seasonality (Warm vs Cool Season, Succession)
Crops have temperature windows. Warm‑season plants stall in cold soil; cool‑season plants bolt in heat. Plan by season and keep harvests steady with succession sowing.
Warm vs Cool at a Glance
- Warm‑season: tomato, capsicum, eggplant, cucumber, basil, beans (frost‑sensitive).
- Cool‑season: lettuce, spinach, brassicas, peas, carrots (prefer mild temps).
Succession & Rotation
- Sow small batches every 2–3 weeks instead of one big planting.
- Rotate crop families (e.g., tomatoes → beans → brassicas) to reduce disease and balance nutrients.
Mulch That Works (Types, Thickness, Timing)
Mulch is more than decoration: it’s water savings, weed suppression and soil protection. Choose based on bed type and goals.
- Veg beds: straw or shredded leaves (5–7 cm).
- Perennial borders/paths: wood chips/bark (7–10 cm).
- Mineral mulches (pebbles) last long but don’t feed soil; use sparingly.
How to Apply
- Water first so moisture sits under mulch.
- Keep a 2–3 cm gap around stems to prevent rot.
- Top up each season or when the layer thins.
Pests & Disease the Smart Way (IPM for Beginners)
Integrated Pest Management (IPM) prevents problems and uses interventions only when needed. Follow this simple loop:
Prevent → Monitor → Identify → Decide → Act → Review.
Prevent
- Choose resilient varieties; start with healthy seedlings.
- Water soil, not leaves; space for airflow; remove infected leaves early.
- Plant flowers like alyssum, dill, calendula to attract beneficial insects.
Monitor & Identify
- Do a 10‑minute weekly walk‑through—flip leaves, look for chewed edges, sticky residue or mould.
- Use yellow sticky traps to monitor flying pests.
- Identify precisely (aphid vs whitefly vs thrip); solutions differ.
Act (Targeted Only)
- Start with physical controls: hand‑pick, blast aphids with water, use insect netting.
- If needed, use labelled, low‑tox products: horticultural oils/soaps for soft‑bodied pests; Bt for caterpillars on edibles.
- Avoid spraying open flowers and peak bee hours.
Three Common Issues & Fixes
- Aphids: sticky leaves, curled tips → water blast + introduce beneficials; oil/soap if heavy.
- Caterpillars: holes in brassicas → inspect at dusk; Bt as per label; net early.
- Powdery mildew: white film on cucurbits → improve airflow; water soil only; remove worst leaves; consider milk/bicarb sprays trial on a small area.
Tools & Ergonomics (Buy Once, Use Often)
You don’t need a shed full of gadgets. A lean kit covers 90% of jobs and keeps costs down.
- Gloves, hand trowel, hand fork/cultivator, sharp bypass pruners.
- Watering wand or fine‑rose can; a sturdy 10–15 L can is versatile.
- Stirrup hoe for fast, shallow weeding.
- Optional: soil knife, wheelbarrow/cart, drip kit + timer, kneeling pad.
Ergonomics & Safety
- Lift with legs, not back; take small loads.
- Alternate hands when pruning or hoeing to avoid strain.
- Store tools out of the weather; clean and oil blades each season.
30‑Day Launch Plan (Daily/Weekly Actions)

Use this sprint plan to go from bare ground to a thriving first bed without burnout.
- Days 1–3: Observe sun/wind, pick location, measure 1×2 m bed; source compost, mulch, seeds/seedlings.
- Days 4–6: Clear area; loosen top 20–25 cm; mix in 3–5 cm compost; add slow‑release fertiliser per label.
- Day 7: Install supports and drip mainline (if using).
- Days 8–10: Plant or sow; water to 15–20 cm; mulch 5–7 cm (gap around stems).
- Days 11–14: Short daily check (2–3 mins): moisture, pests, ties. One deep watering as needed.
- Days 15–21: First light prune/trellis tie‑ins; top‑up mulch where thin.
- Days 22–30: Begin harvests (lettuce, herbs, radish). Set weekly walk‑through on calendar; adjust drip runtime after a test dig.
Sample 1×2 m Planting Plan (12‑Week Timeline)
Here’s a simple, staggered layout that maximises sun and airflow in a compact space. Adjust varieties to your climate and season.
- South edge (tall): 2 indeterminate tomatoes on a trellis (or bush tomatoes if windy).
- Middle: 2 cucumber plants on a low trellis; under‑plant with basil.
- North edge (low): double rows of lettuce and spring onions for quick harvests.
- Path side: a row of marigold or alyssum to attract beneficials.
12‑Week Rhythm
- Weeks 1–2: Establishment—stake, mulch, deep water; begin small herb harvests.
- Weeks 3–6: First lettuce harvests; prune and tie tomatoes weekly; watch for aphids on cucumbers.
- Weeks 7–9: Succession sow more lettuce; start harvesting cucumbers; side‑dress tomatoes with compost.
- Weeks 10–12: Regular tomato harvests; trim excess foliage for airflow; refresh mulch if thin.
Troubleshooting Matrix (Symptoms → Likely Causes → Fixes)
- Yellow leaves on new growth → iron deficiency or high pH → test pH; add chelated iron; adjust pH slowly.
- Leaves curling upward → heat/wind stress → provide shade cloth or windbreak; deep water in morning.
- Flower drop on tomatoes → heat > 32°C or inconsistent moisture → add mulch; water evenly; afternoon shade on extreme days.
- Wilting at midday only → normal transpiration → check soil at dusk; water only if still dry.
- Powdery film on leaves → powdery mildew → water soil, not leaves; remove worst leaves; improve airflow.
FAQs
How big should my first garden be?
Start with 1–4 m². Smaller beds teach you watering, spacing and harvest rhythm without overwhelm. You can expand after one full season.
Do I need raised beds to succeed?
No. Raised beds are neat and fast to set up, but in‑ground beds work beautifully once you add compost and protect soil with mulch.
How often should I water?
Often enough to keep moisture 15–20 cm deep. In hot weather that may be 2–4 times per week with mulch; always confirm with a finger test or small test dig.
Can I garden in partial sun?
Yes—grow leafy greens and herbs, and place fruiting crops in your sunniest position. Consider reflective light and pruning for better exposure.
What should I plant first?
Choose what you like to eat and what fits your season: cherry tomatoes, bush beans, lettuce, radish, basil and spring onions are reliable starters.
Do I need fertiliser if I use compost?
Compost improves structure and biology. A balanced slow‑release organic fertiliser supports heavy feeders without stressing soil life.
Internal Links to Related Guides
- Raised Beds vs Ground
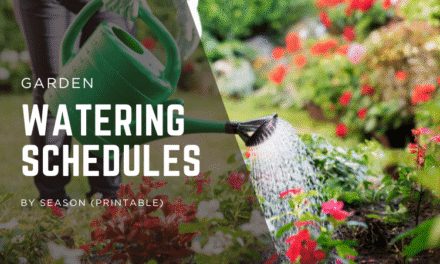
- Watering Schedule by Season
- Compost for Beginners
- Mulch Types Compared
- Soil pH Testing
- Drip Irrigation Setup
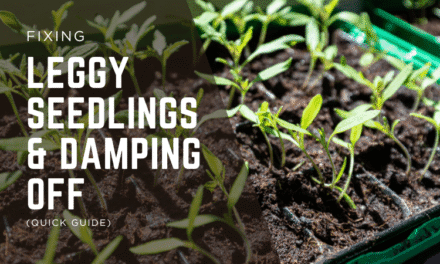
- Fixing Leggy Seedlings
- Planting Calendar (Australia)
- Organic Pest Control (AU)
- Garden Tools Checklist
Case Study: A Small Suburban Bed (Melbourne Temperate Climate)
To show the framework in action, here’s a real‑world scenario. The site is a suburban backyard with morning sun and light afternoon shade from a fence. The gardener wants a 1×2 m bed for summer salads and a few tomatoes. Native soil is clay‑loam, slightly compacted, with fair drainage.
- Week 0: Observation—sun path noted; wind from the northwest; tap nearby.
- Week 1: Bed edged, 3–5 cm compost mixed through top 20 cm; slow‑release fertiliser added.
- Week 1 end: Two trellised tomatoes on the south edge; two cucumbers mid‑bed; under‑plant basil; sow two double rows of lettuce and spring onions on the north edge.
- Week 2: Mulch 5–7 cm; drip line installed with emitters at 30–35 cm; baseline runtime found to reach 18 cm moisture.
- Week 3–4: First lettuce harvests; light tomato pruning; aphids appear on cucumbers → water blast + beneficial flowers planted (alyssum).
- Week 5–8: Regular cucumber harvests; compost side‑dress; mulch top‑up; second sowing of lettuce.
- Week 9–12: Tomato flush; improve airflow; harvest 2–3 times per week; record timings for next season.
Seasonal Snapshot (Temperate Zone)
- Late winter: plan; start compost; repair tools; consider seedlings under cover.
- Spring: build or refresh beds; plant cool‑season crops; after frost, plant warm‑season starts.
- Summer: deep watering; mulch maintenance; trellis and prune; regular harvests.
- Autumn: sow/plant cool‑season crops; collect leaves for mulch; plant a cover crop.
- Winter: rest beds under mulch/cover crops; sharpen tools; review notes for improvements.
Quick‑Start Crop Guides (First Five Crops)
Use these thumbnails to avoid over‑researching. They’re tuned for backyard beds and containers.
Tomato (cherry type)
- Sun: 6–8 h. Spacing: 45–60 cm. Support: stake/trellis from day one.
- Soil: rich with compost; side‑dress mid‑season.
- Water: even moisture; avoid wetting leaves; mulch to prevent splash.
- Prune: remove suckers on indeterminate types; keep good airflow.
Lettuce (loose‑leaf)
- Sun: partial to full sun (hot summers: afternoon shade helps).
- Sow: little but often; harvest baby leaves weekly.
- Water: steady; shallow roots need consistent moisture.
Bush Beans
- Sun: full. Spacing: 15–20 cm. Sow after frost into warm soil.
- Water: moderate; avoid overhead watering during flowering.
Basil
- Sun: warm, protected spot. Pinch tips for bushy growth.
- Water: regular but not soggy; loves heat and even moisture.
Spring Onions
- Sun: full to partial. Plant densely; harvest thinnings for the kitchen.
- Water: steady; top‑dress with compost for tenderness.
DIY Soil Test & Reading Results
- Jar test: shake 1 cup soil with water + a pinch of dish soap; let it settle overnight to see sand/silt/clay layers.
- Worm count: five quick trowel holes; 5–10 worms total suggests good biology.
- Infiltration: time how long 2.5 cm of water takes to disappear from a coffee‑tin ring; slow = compaction or clay; fast = very sandy.
If your jar test shows lots of clay and infiltration is slow, focus on compost + mulch and keep feet off beds. If it’s very sandy and water disappears immediately, add compost and consider closer emitter spacing for drip.
Irrigation Math You’ll Actually Use
- Common emitter flows: 2 L/hr (gentle), 4 L/hr (thirstier crops).
- Runtime example: If your probe shows 10 minutes reaches 10–12 cm, try 15–18 minutes to reach 15–20 cm. Confirm with a test dig once per season.
- Split cycles in hot weather (e.g., two shorter runs early morning) to reduce runoff in clay soils.
Yield Planning & Kitchen Flow
Plant what you’ll eat, in the amounts you can harvest and store. A 1×2 m bed can deliver weekly salads and herbs for a small household. Use succession sowing for lettuce and herbs, and preserve excess tomatoes as sauce or frozen halves. Harvest in the morning for best flavour and shelf life.
Sustainability & Cost Snapshot
- Start with three core tools and borrow the rest until you’re sure you need them.
- Choose locally made compost or make your own to cut freight and cost.
- Mulch made from leaves or straw often costs less and returns value to soil.
- A basic drip kit with timer pays for itself via water savings and better yields.
Printable Checklists (What to Include)
- Weekly Walk‑Through: moisture check, pest scan, prune/tie, harvest, note‑taking.
- Season Changeover: add 2–3 cm compost, refresh mulch, check pH if plants struggled.
- Tool Care: clean, sharpen, oil; replace cracked hoses or broken fittings.
