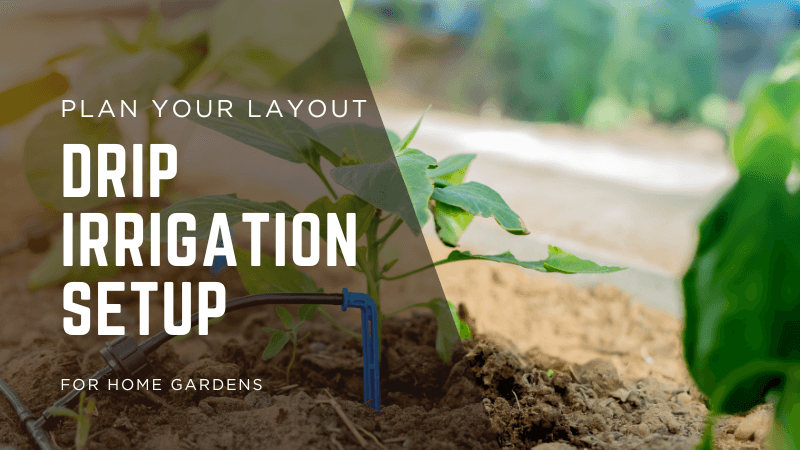
A well‑planned drip irrigation setup delivers water where roots can use it, reduces evaporation and leaf diseases, and works perfectly under mulch. Once you set a reliable baseline runtime and group plants into sensible zones, watering becomes predictable and plants respond with steadier growth and better flavour. This guide walks you through parts, layout options, emitter choices, runtime calibration, seasonal scheduling, maintenance, troubleshooting, and smart upgrades.
Why Drip Wins
- Deep, even moisture at root depth (15–20 cm) without surface puddling or runoff.
- Lower leaf wetting → fewer fungal issues on tomatoes, cucurbits and herbs.
- Efficient under mulch: lines stay shaded and evaporation drops dramatically.
- Scalable: add beds and containers with simple tees and button emitters.
- Repeatable: once you calibrate runtime, results are consistent season after season.
Parts List (What You Actually Need)
| Component | Purpose | Pro Tip |
| Battery timer | Automates cycles; choose models with multiple start times. | Dual‑outlet timer if planning two zones from one tap. |
| Filter + pressure reducer | Protects emitters; standard garden taps can be too high‑pressure. | Inline combo units reduce fittings and leaks. |
| 13 mm mainline poly tubing | Backbone along paths and bed edges. | UV‑stabilised tubing lasts longer in full sun. |
| 4 mm feeder lines / inline dripline | Branch to rows, plants or containers. | Inline dripline simplifies spacing for rectangular beds. |
| Emitters (2–4 L/hr) | Deliver water at predictable rates. | Use 2 L/hr for most veg; 4 L/hr for thirstier plants or sandy beds. |
| Barbed fittings, end caps, stake pins, hole punch | Connect, secure and terminate lines. | Go for UV‑stable barbs; metal stake pins in windy sites. |
Layout Examples (Beds, Rows, Containers)
Rectangular Bed (1.2–1.5 m wide)
Run two to three lengths of inline drip 30–35 cm apart. In sandy soils, tighten to 25–30 cm; in clay‑loam, 35–45 cm works. Start the first run ~10–15 cm from the bed edge.
Row Crops
Mainline down the path with 4 mm feeders to each row. For dense rows (carrots, onions), use inline drip; for spaced plants (tomatoes, pumpkins), use individual button emitters at each plant.
Containers & Raised Beds
Button emitters (2 L/hr) to each pot sized ≤30 cm; two emitters for larger tubs or thirsty crops. Group pots by size and sun exposure on a dedicated zone so runtimes match.
Drip Irrigation Setup: Planning Your Layout
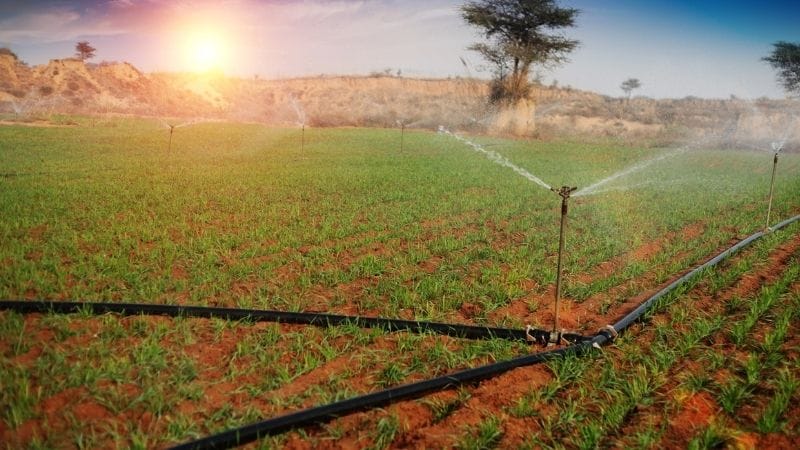
Before punching any holes, sketch the drip irrigation setup. Mark the tap, route of the mainline, bed dimensions, and where emitters will go. Think in loops you can flush easily, and leave a little slack at corners for future changes.
Emitter Selection & Spacing
| Emitter Type | Best Use | Notes |
| 2 L/hr button | Most vegetables, herbs, containers | Place 1–2 per plant; closer in sand. |
| 4 L/hr button | Thirsty plants (tomatoes in sand, pumpkins), windy sites | Use fewer minutes to avoid runoff; great under thick mulch. |
| Inline 2 L/hr @ 30 cm | Rectangular veg beds, raised beds | Two or three runs per bed; adjust spacing to soil texture. |
| Adjustable drippers/microsprays | Ornamentals, odd shapes | Use sparingly; more prone to clogging; check frequently. |
Spacing by Soil Texture (Guidelines)
| Soil | Spacing | Runtime Notes |
| Sandy | Emitters closer; 25–30 cm inline spacing | Shorter, more frequent cycles; mulch is essential. |
| Loam | 30–40 cm inline spacing | Balanced runtimes; easy wetting front. |
| Clay‑loam / Clay | 35–45 cm inline spacing | Longer runtimes, fewer cycles to avoid waterlogging. |
Step‑by‑Step drip irrigation setup (From Tap to Bed)
1. At the tap: install timer → filter → pressure reducer in that order. Hand‑tighten plus a quarter turn; avoid over‑torquing plastic threads.
2. Lay 13 mm mainline along paths/edges. Stake every 1–1.5 m; add slack at corners to prevent kinks.
3. Punch holes on the side of the mainline (not at 12 o’clock) to reduce debris settling into feeders.
4. Run 4 mm feeders to rows/plants or connect inline drip runs. Keep runs tidy and parallel for easier diagnostics.
5. Cap line ends with removable end caps or figure‑8 fittings so you can flush seasonally.
6. Mulch over lines (5–7 cm straw/leaves) after testing for leaks. Mulch stabilises temperature and lowers UV exposure.
Drip Irrigation Setup: Calibration & Runtime
Runtime is where drip systems go from guesswork to science. Calibrate once per season and after major layout changes.
- Run 10 minutes; wait 20 minutes to allow water to redistribute; dig a wedge to inspect depth.
- Increase runtime until moisture reaches 15–20 cm. That number is your **baseline runtime** for the season.
- In hot weather or sandy beds, split runtime into two early‑morning cycles to reduce runoff and improve infiltration.
- Record your baseline in a notebook or phone and reuse it—only the number of cycles/week changes with the season.
Seasonal Scheduling (Cycles per Week)
Use your baseline runtime as the building block. Adjust frequency by season and weather. Always confirm with a quick test dig when conditions swing.
- Summer: 2–4 cycles/week to reach 15–20 cm.
- Autumn: 1–2 cycles/week; reduce as nights cool and evapotranspiration drops.
- Winter (mild zones): 0–1 cycle/week; avoid waterlogging in clay soils.
- Spring: 1–3 cycles/week as growth ramps up.
Zones & Valves (Match Plants by Thirst)
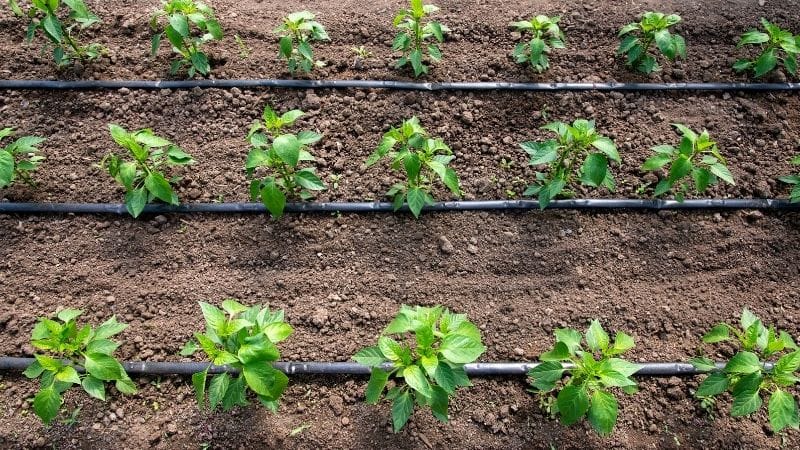
Greens and cucumbers drink differently than tomatoes and rosemary. Group plants with similar needs so one schedule fits each zone. A dual‑outlet timer often covers two zones from one tap.
- Zone 1: leafy greens, herbs, cucumbers (more frequent, shorter cycles).
- Zone 2: tomatoes, capsicum, eggplant (less frequent, longer cycles).
- Zone 3: containers (often daily checks in peak summer; consider morning cycles).
Troubleshooting Wet/Dry Spots
Patchy moisture comes from pressure drops, slopes, clogs or soil differences. Fixes are simple once you know the cause.
- Low‑flow corners: add one extra emitter or move to 4 L/hr on that plant.
- Pooling areas: widen emitter spacing or shorten cycle; verify slope isn’t concentrating flow.
- Clogs: flush lines from the end caps; check and clean the filter; replace clogged emitters.
- Slope beds: water from the top; step runtimes or use check‑valve emitters if needed.
Maintenance & Upgrades
- Flush lines at the start of each season and after sediment events.
- Check for leaks monthly; sun‑brittled fittings are cheap to replace and save water.
- Swap worn barbs for UV‑stable versions; use metal stakes in windy sites.
- Consider quick‑connects at the tap for painless seasonal setup/teardown.
Budget vs Premium Components
Starter kits are great for renters and first‑timers. As beds expand, upgrade the pieces that fail first in sun and high‑use spots.
- Premium timers: better seals and programming flexibility; dual outlets save a second tap.
- Filters/reducers: metal‑body combos tolerate knocks and last longer.
- Tubing/fittings: UV‑stable brands crack less after summers in full sun.
Safety & Compliance (Taps & Backflow)
Use a backflow preventer if required in your area to stop garden water from siphoning back towards the household supply. Hand‑tighten fittings and avoid cross‑threading. Disconnect and drain lines before frost in cold regions.
Research‑Backed Practices
Peer‑reviewed horticulture and soil science consistently emphasise the same fundamentals: maintain surface cover, increase organic matter gradually, water deeply rather than frequently, and avoid disturbing wet soils. For home gardeners that translates into mulch, compost, drip irrigation where possible, and patient observation.
Local Sourcing & Sustainability
Sourcing amendments locally reduces cost and supports soil biology adapted to your climate. Blended green‑waste compost from municipal programs, well‑aged manures, and autumn leaves can outperform boutique bagged products when applied with care. Close loops: compost kitchen scraps, retain leaves as mulch, and return soft trimmings to beds after chop‑and‑drop.
Record‑Keeping & Continuous Improvement

A pocket notebook or phone log is a superpower. Log planting dates, varieties, first harvests, pest sightings, irrigation runtime, and weather extremes. Review each season: what worked, what took too long, and where your drip irrigation setup could be simplified.
Internal Links
FAQs
How long should I run my system?
Long enough to wet soil to 15–20 cm—often 10–25 minutes per cycle depending on emitters and soil. Confirm with a test dig; then use that runtime as your baseline.
How far apart should emitters be?
Inline spacing of 30–35 cm suits most loams; tighten to 25–30 cm in sand and widen to 35–45 cm in clay‑loam. Button emitters go at each plant for spaced crops.
Can I put drip under mulch?
Yes—this is ideal. Mulch reduces evaporation and keeps lines cooler, extending their life.
What’s better: 2 L/hr or 4 L/hr emitters?
Use 2 L/hr for most veg and containers; choose 4 L/hr for very thirsty plants, very sandy soil, or windy, hot exposures. Adjust runtime accordingly.
Do I need multiple zones?
If beds have very different needs (e.g., leafy greens vs established fruit trees), create separate zones so schedules fit each group. A dual‑outlet timer often handles two zones.

