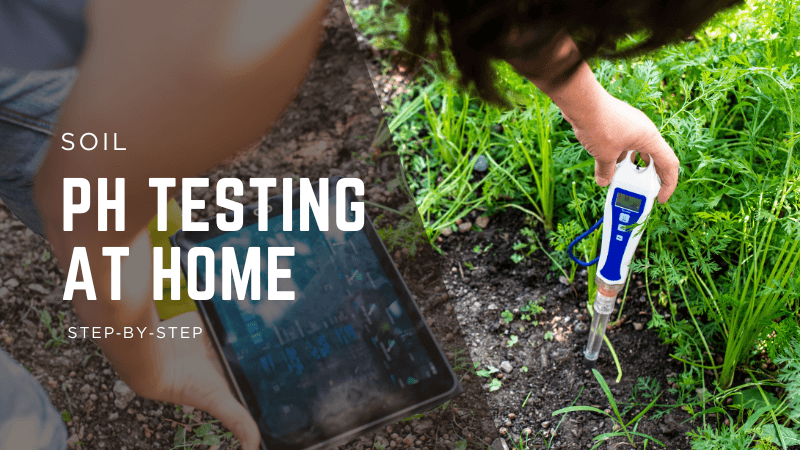
This step‑by‑step guide shows you exactly how to run a reliable soil ph test at home, interpret what the number means, and make slow, steady adjustments that stick. Rather than chasing a single, perfect value, you’ll learn how pH interacts with nutrients, how to sample correctly, and how to confirm your corrections over the next few weeks.
Why pH Matters
Soil pH governs nutrient availability. Most vegetables and many herbs prefer a slightly acidic to neutral range (pH 6.0–7.0). Outside this window, elements like iron, manganese, phosphorus and zinc become less available—even when present in the soil—so leaves can yellow, growth can stall, and fruit set can suffer. A good test lets you decide whether to add lime, elemental sulphur, or simply keep building organic matter and let biology buffer extremes.
Soil ph test Methods (Compared)
There are three common ways to test at home or with help. Each has trade‑offs in cost, convenience and precision.
Dye (colour) kit
Fast, inexpensive and good for range‑level decisions, dye kits use an indicator that changes colour when mixed with soil and water (or an extracting solution). They’re surprisingly useful if you follow instructions and compare to the supplied chart in strong light. They won’t tell you 6.4 vs 6.6, but you’ll know if you’re in the 6.0–7.0 band or drifting acidic/alkaline.
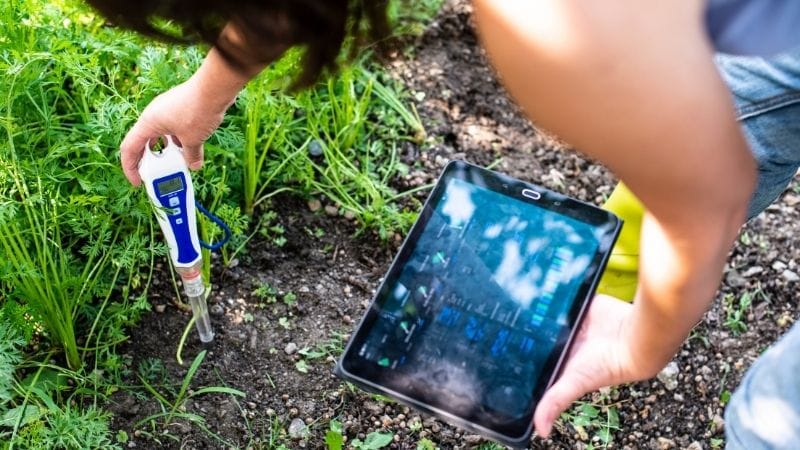
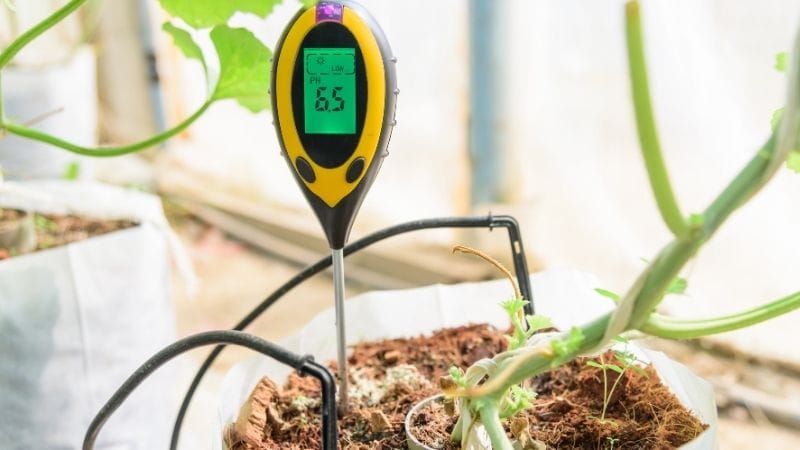
Electronic pH meter
Convenient and repeatable, but only when calibrated and maintained. A decent garden pH meter works best with a slurry: equal parts soil and distilled water, stirred and allowed to settle. Rinse the probe between samples and store as recommended. Cheap meters can drift; verify periodically with a dye kit or buffer solutions.
Laboratory analysis
When persistent issues remain or you want a full fertility snapshot, send a composite sample to a lab. You’ll receive pH, buffer pH (lime requirement), nutrients and organic matter—ideal for bed‑scale planning.
Sampling Protocol (Get the Number Right)
- Take subsamples from 5–10 spots within a bed. Avoid unusual patches (compost piles, old fire pits).
- Mix subsamples in a clean container to create a composite representative of that bed.
- Air‑dry clumps if the soil is waterlogged; saturated soil can skew a reading low.
- Test different beds separately; repeat the next day to confirm patterns if results surprise you.
- Record bed name, date, recent rain/irrigation, and whether mulch was moved aside before sampling.
Step‑by‑Step: Dye Kit, Meter, and When to Use a Lab
Dye kit procedure (10 minutes)
1. Scoop 1–2 teaspoons of the mixed composite soil into the test vial.
2. Add the indicator capsule or liquid per the kit’s instructions.
3. Add distilled water to the fill line, cap and shake.
4. Let settle on a white background in good light, then match the colour to the chart.
5. Write down the bed name and value, plus comments about recent weather.
Meter procedure (15 minutes)
6. Prepare a slurry using equal parts soil and distilled water; stir well and let it sit 5–10 minutes.
7. Rinse the probe with distilled water; avoid wiping the glass bulb (if present).
8. Insert the probe into the slurry, swirl gently and wait for the reading to stabilise.
9. Record pH to one decimal place. Rinse and store the probe per the manufacturer’s guide.
When to use a lab
Use a lab if your readings vary wildly between methods, if you’ve had long‑running issues with a particular crop, or if you’re planning major bed renovations. A lab can also test buffer pH to estimate how much lime is required to raise acidity towards neutral.
Interpreting Results (What to Change, What to Ignore)
Context decides the action. If your tomatoes are thriving, a reading of 6.3 vs 6.7 is not a crisis. If leaves are chlorotic and your pH reads 7.8, that’s a signal. Use the table below as a guide:
- pH 5.0–5.9 (acidic): expect reduced availability of calcium, magnesium and phosphorus; iron is abundant but may still show deficiency if roots are stressed.
- pH 6.0–7.0 (target): most nutrients are available; fine‑tune with compost and mulch.
- pH 7.1–7.8 (alkaline): iron and phosphorus lock up; consider elemental sulphur and chelated iron for susceptible crops.
Always pair numbers with plant behaviour: new growth colour, leaf shape, and vigour across a whole bed. A single struggling plant may be root‑bound or water‑stressed rather than suffering from pH.
Adjusting pH Slowly (Lime, Sulphur & Organic Matter)
Raising pH (soil too acidic)
If your number is below ~6.0, add garden lime (calcium carbonate) gradually and retest in a few weeks. Follow bag rates for your soil type—sandy soils need less than clay because they buffer less. Work lime into the top 10–15 cm and water in. Avoid big single corrections; overshooting is common and takes longer to undo.
Lowering pH (soil too alkaline)
If you’re above ~7.5, apply elemental sulphur in small doses and increase organic matter. Microbes oxidise sulphur into acid over weeks; warm, moist soil speeds the process. Retest after rain events and seasonal changes to track progress.
Organic matter as buffer
Regular additions of compost and mulch don’t change pH overnight, but they stabilise swings and improve nutrient holding capacity. In practice, patience plus small, steady inputs create a wider comfort zone for roots.
Symptoms That Mimic pH Issues
- Over‑watering or poor drainage can cause yellowing that looks like iron deficiency.
- Cold soil slows nutrient uptake—wait for warmer days before making drastic changes.
- Compacted soil restricts roots; a raised bed or broadforking (in existing beds) may help more than amendments.
- Excess fertiliser salts can burn roots and reduce nutrient uptake regardless of pH.
Garden pH Meters: Care & Calibration
Meters are only as good as their upkeep. Rinse probes after use, store as directed, and calibrate against buffer solutions (commonly pH 4, 7 and sometimes 10). Budget meters drift; verify occasionally with a dye kit or by measuring a known substance like vinegar diluted in distilled water.
- Rinse between samples to avoid cross‑contamination.
- Don’t scrape soil off a glass bulb; rinse and dab gently.
- Store with the cap and storage solution if specified.
- Check calibration monthly in heavy use, seasonally otherwise.
Working with Naturally Alkaline or Acidic Regions
If both your irrigation water and native soils are alkaline, focus on organic matter and targeted chelated iron for susceptible crops. If your climate tends acidic, raised beds with a balanced mix can shortcut years of amendment. Choose varieties known to perform in your region and avoid pushing extremes where possible.
Mulch, Compost & Long‑Term Buffering
Mulch and compost buffer extremes over time. Surface cover reduces evaporation and temperature spikes, while compost increases cation exchange capacity (CEC) so nutrients stay available longer. Small, steady inputs outperform one‑off heavy corrections that risk plant shock.
Research‑Backed Practices
Peer‑reviewed horticulture and soil science converge on the same fundamentals: maintain surface cover, increase organic matter gradually, water deeply rather than frequently, and avoid disturbing wet soils. For home gardeners that translates into mulch, compost, drip irrigation where possible, and patient observation. These practices may not be flashy, but they compound across seasons and build resilient, forgiving beds.
Local Sourcing & Sustainability
Sourcing amendments locally reduces cost and supports soil biology adapted to your climate. Blended green‑waste compost from municipal programs, stable animal manures (well‑aged), and street leaves can outperform boutique bagged products when applied with care. Aim to close loops: compost kitchen scraps, retain autumn leaves as mulch, and return soft trimmings to beds after chop‑and‑drop.
Record‑Keeping & Continuous Improvement

A pocket notebook or phone log is a superpower. Log sampling dates, locations, recent weather, readings from each method, and any amendments applied. At season’s end, review what worked and what felt like a chore. Adjust bed layout and amendment plans for next year. Small changes guided by notes lead to stress‑free abundance.
Accessibility & Ergonomics
Design your testing routine so it’s easy on your most tired day: keep a small kit (distilled water, vial, dye, meter) in one pouch, add disposable spoons, and store everything at chest height. If walking tools across a yard is annoying, place a small crate in each garden zone to hold the basics. The easier the routine, the more consistent your data.
Throughout this article we return to one theme: a dependable soil ph test is simple, repeatable and cautious. You’ll get the most value by standardising your sampling, running the same soil ph test methods each time, and writing down results. When in doubt, repeat the soil ph test before making large adjustments—numbers plus plant signals beat guesswork.
FAQs
How often should I run a soil ph test?
At least once per season for each bed, plus after major amendments or unusual weather (heavy rain, heatwaves). In containers, test a fresh batch of mix before potting and again mid‑season if plants struggle.
Do I need distilled water?
Yes. Tap water can vary in pH and dissolved minerals, which can skew results—especially with small samples. A cheap bottle of distilled water keeps the process consistent.
What number should I aim for?
Most vegetables are happiest between 6.0 and 7.0. Blueberries, azaleas and some ornamentals prefer more acidic conditions (down to ~5.0–5.5). Mediterranean woody herbs tolerate slightly alkaline soil.
Can I fix pH quickly?
You can move the needle, but quick, large swings risk overshooting and stressing biology. Small, steady corrections with lime or sulphur, plus ongoing compost and mulch, deliver stable results.